Simple and scrumptious cakes somehow give a great sense of accomplishment to a baker and Biskvit Cake is such a creation. Sometimes referred to as sponge cake, Biskvit is a light and airy cake that can be consumed as is or as the bottom layer for other products such as cakes, and trifles. This is ideal for new bakers who may wish to try baking from scratch without having to go through a list of complicated ingredients or methods. Here are a few simple ingredients and after following the tips and tricks you will get Biskvit cake which is fluffy, moist, and risen to perfection. Let’s dive in!
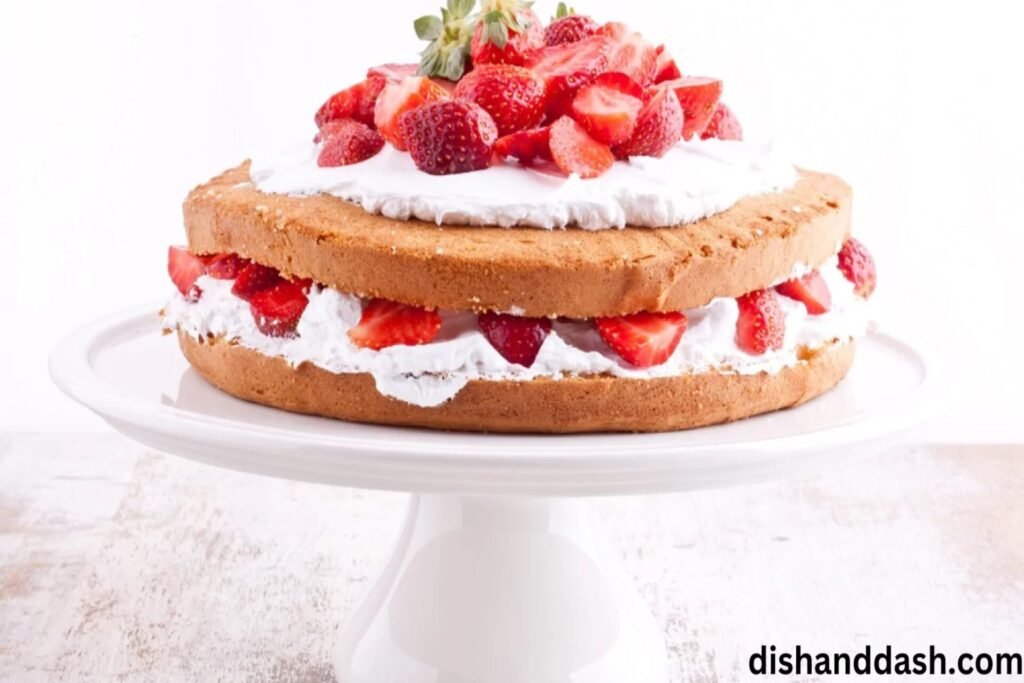
Table of Contents
What is Biskvit Cake?
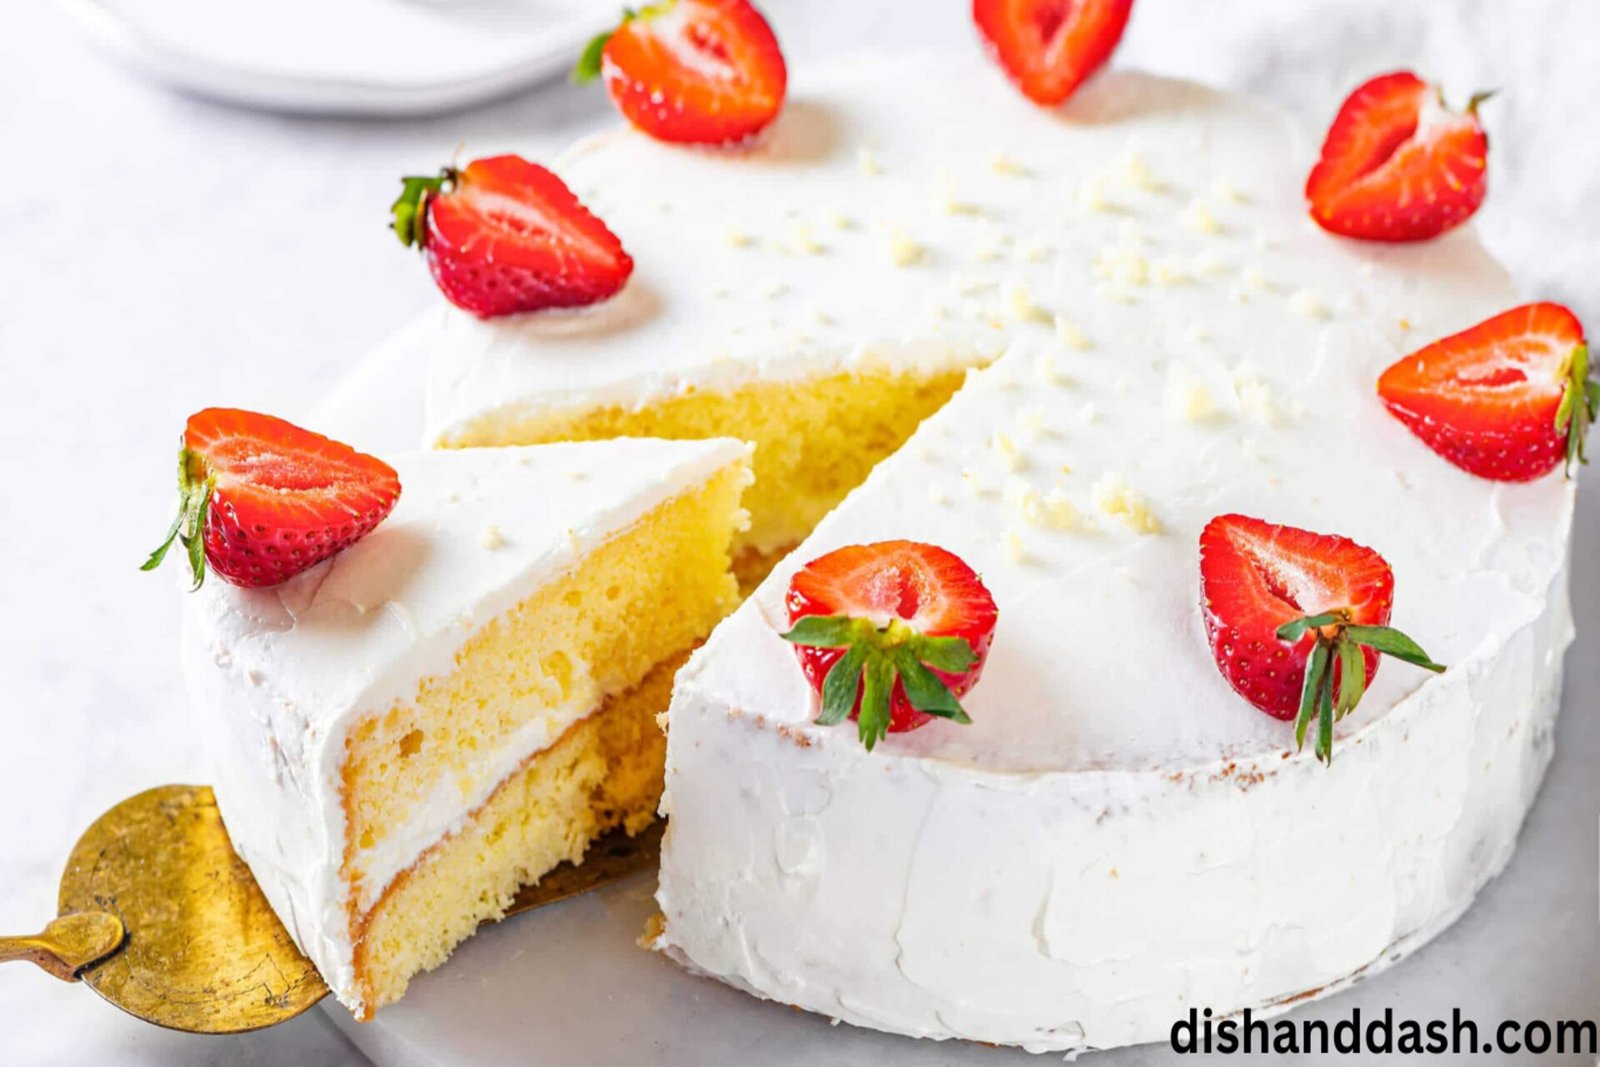
Biskvit Cake is a kind of light and soft cake that belongs to the East Europe/Russian Cakes. The cake is risen with whipped eggs, and it is tender – it has a fine crumb – which makes it suitable for any kind of sweet dish. Its texture is closer to the sponge and chiffon cakes but it is easier to prepare than the two.
In its most basic form Biskvit is served with a light dusting of icing sugar on top, but then it can also serve as the foundation for layered cakes, filled with creams and fruit jellies.
Why Biskvit Cake is Special
What makes Biskvit cake memorable is that it is simple. You don’t need butter or oil and there are no leavening agents such as baking powder or baking soda used in preparing this bread. As for the airiness of the cake, it’s in the whipped eggs, which makes this cake so light, I love it. Also, due to its non-creamy taste, Biskvit can be decorated in many ways — from simply putting some syrup on the serving and filling it to putting a thick layer of frostings.
Ingredients Needed for Biskvit Cake
Perhaps, you will be shocked to realize that you require limited ingredients to prepare this delicious cake. Here’s what you’ll need:
4 large eggs at room temperature
1 cup granulated sugar
1 cup all-purpose flour
1 teaspoon vanilla extract
A pinch of salt
Optional (for variations):
An example of flavorings may include lemon zest, cocoa powder, or fruit preserves.
Step-by-Step Instructions to Make Biskvit Cake
1. Prepare Your Ingredients
Start by gathering all your ingredients. Make sure your eggs are at room temperature. This is essential for whipping them properly. If your eggs are cold, place them in a bowl of warm water for a few minutes to bring them to room temperature faster.
2. Preheat the Oven
Pres cook your oven to 350 Fahrenheit and prepare the 9-inch round baking pan. You either sprinkle butter on the pan lightly or better still grease the pan and then cover the surface with parchment paper so that when they are done you can easily remove them.
3. Separate the Eggs
It is advised to make a clean separation of egg white from the yolk. Ensure that there is no particle of yolk in the whites, as this is a barrier to the whites from reaching their peak.
4. Whip the Egg Whites
In a clean bowl whisk the egg whites with a pinch of salt using the electric mixer. This is done on a slow speed and then gradually increased to medium-high until stiff peaks are formed by the whites. They should be light and keep their structure once the beaters are raised but not thick or powdery.
5. Add the Sugar Slowly
While the mixer is on medium speed add the sugar a tbsp. at a time until it has combined well. Whisk the cream further until it holds soft peaks before folding it into the whipped cream mixture. The egg whites should be shiny and the sugar should be well μ̈incorporated with it.
6. Whip the Egg Yolks
In a different bowl, whisk the egg yolks for approximately 1-2 minutes and until it turns pale. Finally add the vanilla extract and mix using the beater for another half a minute.
7. Combine the Mixtures
Using a spatula, fold the beaten yolks carefully to the egg whites. It is important to be very careful while doing this since you do not want to pop the egg whites. You should not stir, but make a folding-like motion.
8. Add the Flour
Gradually pour a little flour through a sieve on the eggs, stirring the mixture gently. It is important not to overmix the ingredients here. Only mix the flour in until this has disappeared from the batter. The batter for the fritters should be tender and as fluffy as possible.
9. Bake the Biskvit
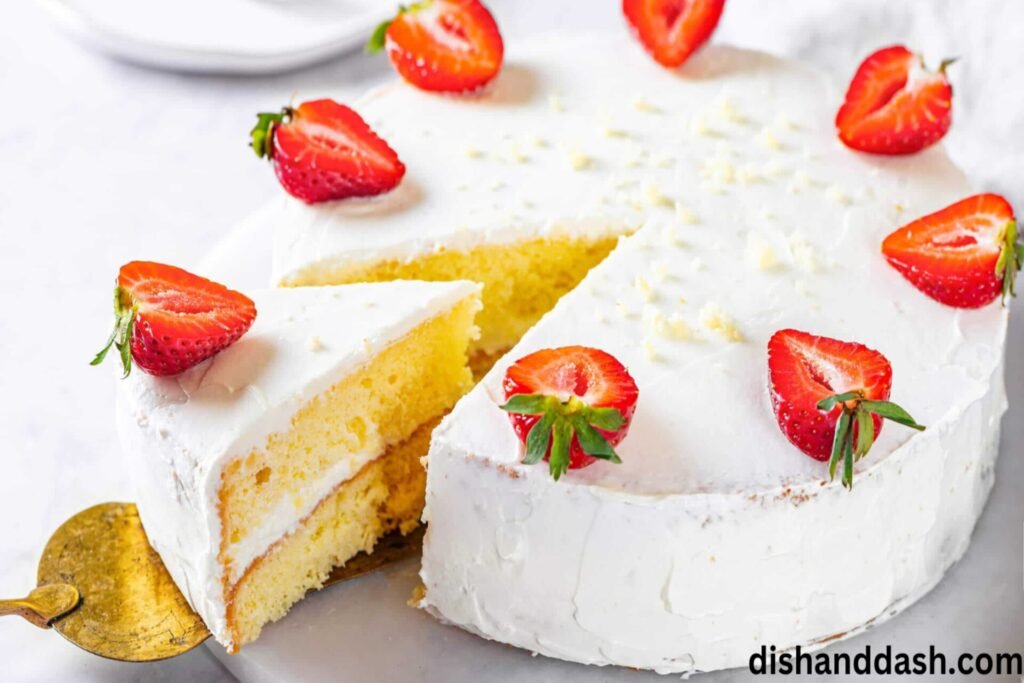
Transfer the batter to your prepared cake pan and level the top with the back of the spatula. Bake for 25- 30 minutes it turns golden brown on the top and the toothpick inserted in the center is clean.
10. Cool the Cake
Pull the cake out of the oven and let it sit in the pan for 10 min to cool. After that, move it to a wire rack and allow the cake to cool in the bowl before frosting.
Common Mistakes and How to Avoid Them
1. Deflating the Batter
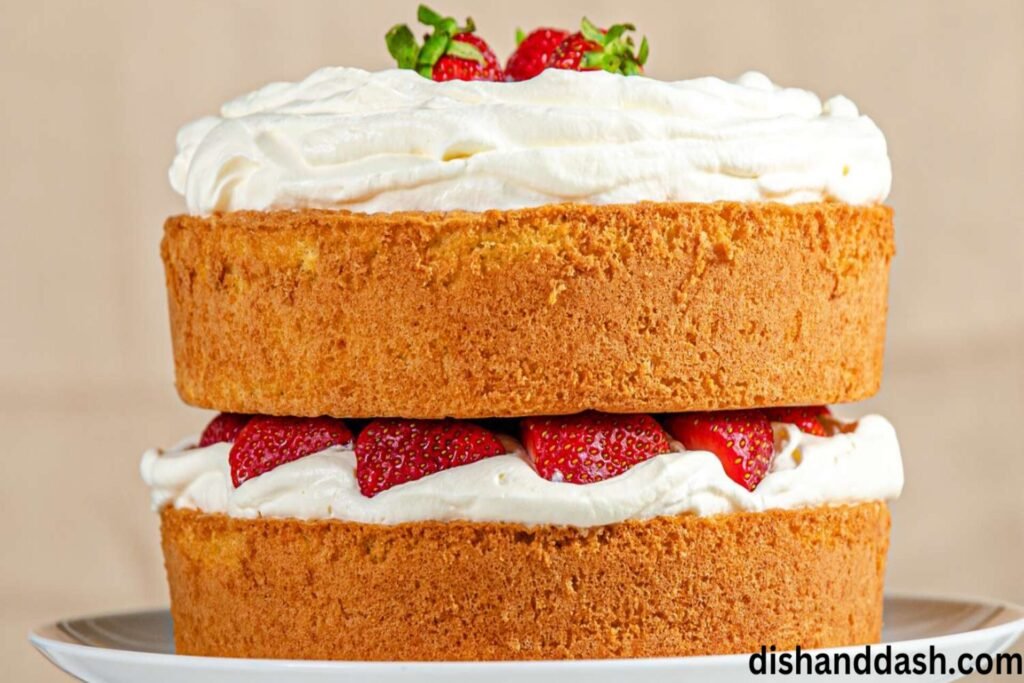
Getting air into the mixture and thereby reducing the volume of the Biskvit cake is also one of the most common problems. Lightness should be employed when mixing the flour and egg yolks to not deflate the whipped egg whites. It is also important not to over-mix the ingredients otherwise the clouds forming will make a cake that is compacted.
2. Using Cold Eggs
Eggs must be at room temperature to whip up properly also. In case, you did not remove them beforehand, put them in warm water for 5-10 minutes before using them.
3. Over-baking
It is because Biskvit is such a delicate or ‘sponge’ cake that when baked for any extra amount of time it can easily become dry. The time of 25 minutes seems optimal and the readiness can be tested using a toothpick. In other words if the skewer inserted in it comes out clean then your cake is ready.
4. Not Using a Lined Pan
As for the bakvita cake, it’s rather tender so it’s better to grease the pan or use parchment paper. This makes sure the cake turns out smooth when Retrieved from the plate without boiling.
FAQs
1. Can I make Biskvit Cake ahead of time?
Yes! Biskvit cake can be made a day in advance. Once it cools, wrap it tightly in plastic wrap and store it at room temperature. You can also freeze the cake for up to a month.
2. Can I add other flavors to Biskvit Cake?
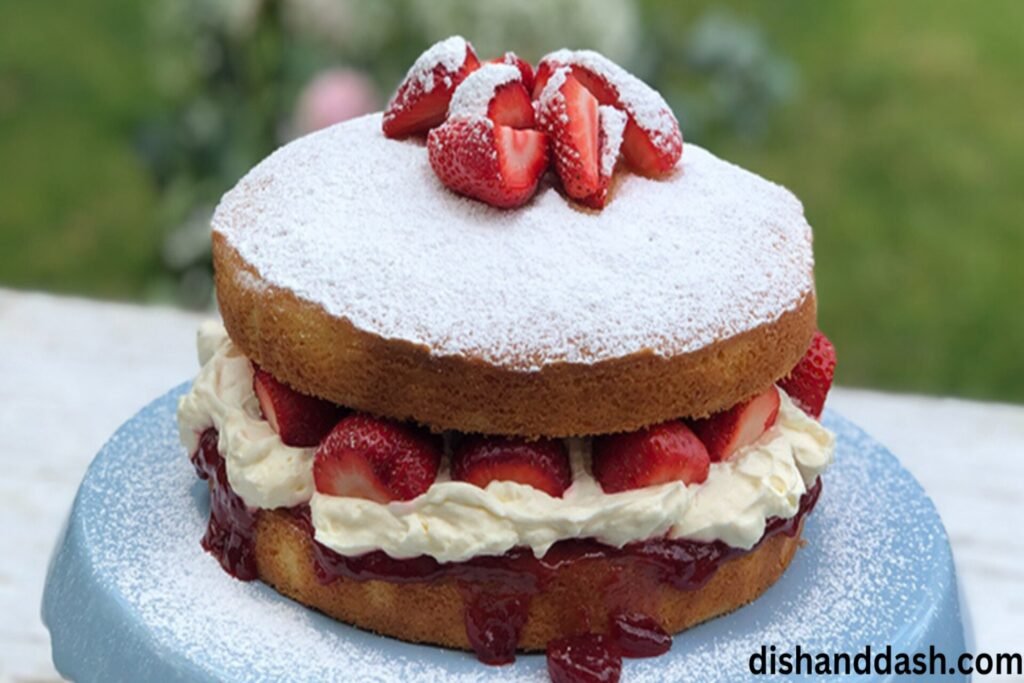
Absolutely! You can mix in flavorings like lemon or orange zest for a citrus twist. For a chocolate variation, replace 2 tablespoons of flour with cocoa powder. You can also add fruit preserves between the layers if you plan on making a layered cake.
3. My cake collapsed after I took it out of the oven. What happened?
This can happen if the cake was over-mixed or if the oven temperature was too high, causing the cake to rise quickly and then collapse. It’s also important not to open the oven door too early, as the sudden temperature drop can cause the cake to fall.
4. How do I store Biskvit Cake?
Biskvit cake can be stored at room temperature for up to two days, or you can freeze it for longer storage. If you plan on freezing it, wrap it tightly in plastic wrap and then in aluminum foil.
5. Can I use this recipe for layered cakes?
Yes! Biskvit cake is an excellent choice for layered cakes. Its neutral flavor pairs well with creams, fruit fillings, and ganaches. Just be sure to let the cake cool completely before cutting it into layers.


1 thought on “Effortless Delicious Biskvit Cake 2024”